Magic Move

 Watch tutorial
Magic Move is the most flexible and powerful transition type in Drama. It allows you to animate every attribute of every layer between two Scenes. In addition, Drama will create automatic animations by default, so you can achieve impressive results with almost no effort.
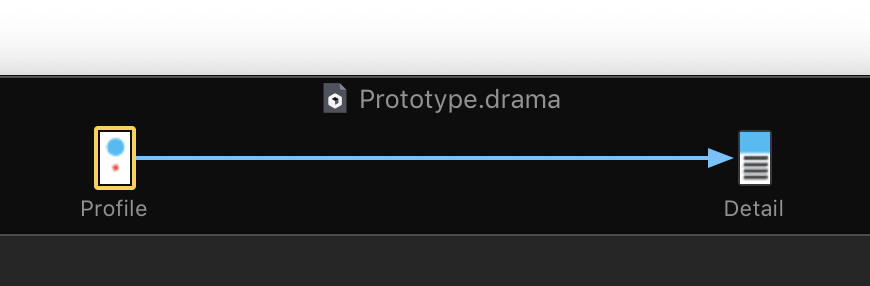
To create Magic Move between two scenes, create an Event from any layer and choose a target scene. Magic Move is the default type of transition, so no additional steps are needed.
Magic Move can be nicely paired with Magic Drag to create interactive transitions.
Customization
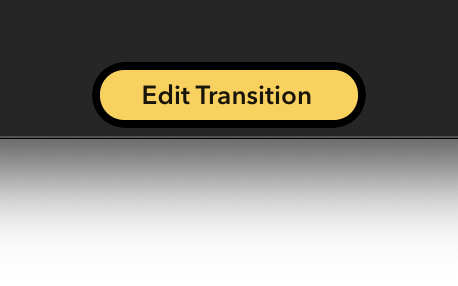
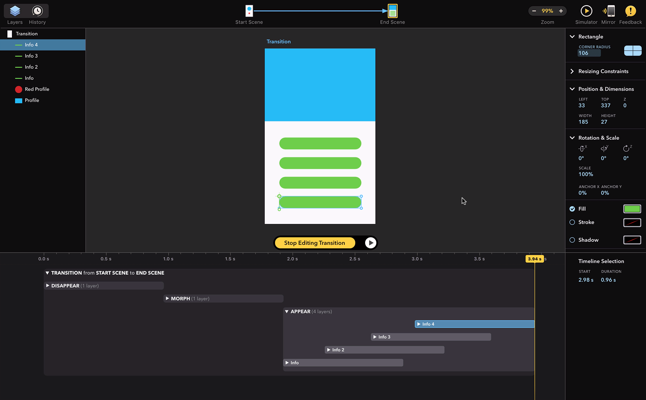
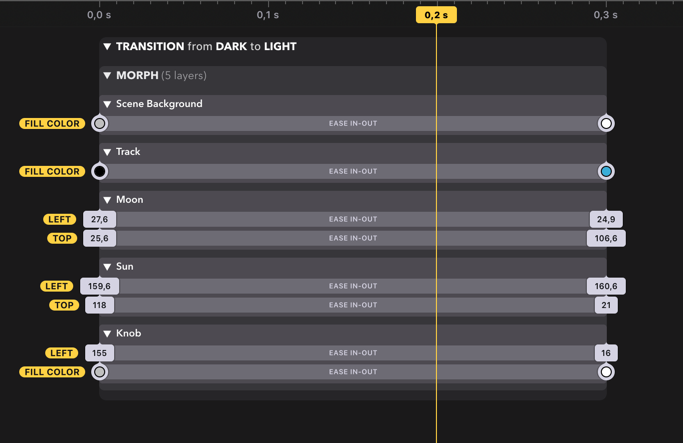
After you create a Magic Move transition, you may wish to customize individual animations. To begin, double-click a thansition arrow in Workspace or select it and click Edit Transition at the bottom of the Workspace.
![]()
![]()
You can change duration of the entire transition without entering the Transition Editor by using Inspector for currently selected transition arrow.
Transition Editor

Transition editor is a special mode of Workspace, in which Drama presents you a scene created only for the purposes of previewing and editing a Magic Move transition. This scene contains layers from both scenes – the source scene and target scene. Transition editor then shows a timeline, similar to timeline of Animations, in which you can view and edit the animations.
By moving the playhead in timeline to any arbitrary time, you will see in Workspace the state of the animation at that point in time. You can then edit attributes of the layers in Workspace or in Inspector and these changes will be respected by the Magic Move transition.
Layer Matching
Magic Move transitions will automatically create animations for all layers in both participating scenes. Layers which are present in both scenes will stay visible, just their differing attributes will be animated to new values.
Layers which are present only on one of the scenes will get an automatic opacity animation. You can replace or delete these automatic opacity animation if you wish by editing initial or final state of the scene.
Layers are matched when they share the same name, the same kind and when they are inside a matched parent layer. That means that for two layers to match, the names and kinds of their parents must also match. This applies also to the parents of their parents, up to the root of the scene.
Editing Attributes
In transition editor, you can freely change almost any attributes of the participating layers. Doing so will adjust either the original scenes or the transition itself, depending on the position of playhead in timeline.
By moving playhead to the beginning of the transition, you can edit initial state of the transition. By moving it to the end, you can edit final state. Edits you make to layers may create new animations in timeline or change existing animations.

Restrictions
Transition editor has restricted editing capabilities, due to the fact that it offers a temporary preview of a Magic Move transition. You cannot create layers or delete existing ones and you also cannot reorder layers or reorganize them. In addition, it’s not possible to change Resizing Constraints and the type of Fill and Stroke. Some actions are also disables, like conversion to Bezier or embedding to a Group.
Video Export
Drama allows you to create a video from your Magic Move transitions. To export a video, select a transition arrow between any two scenes or enter Transition editor. Then click Export in File menu in Menu Bar, where you can pick one of several formats, including MP4 or GIF, but also still images, like PNG and JPEG. Export to MP4 offers additional video quality options, like frame rate and motion blur.